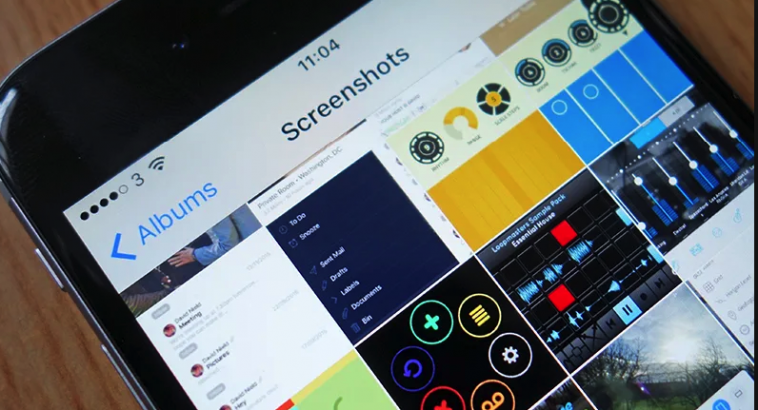
A ScreenShot On Android
In this blog post, we will reveal how you can take a screenshot on Android phone or tablet. So, it is worthy of note that these methods are applicable to all brand of smartphones. As long as it is an Android.
First of all, screenshotting is capturing the present screen of your smartphone phone and saving it in the form of a picture. There are various types of Android phones, each having different features.
Some Android phones have in-built with shortcuts to take a screenshot while others with no in-built screen for screenshotting. Outlined below are methods to take screenshots on Android phones.
. Using Screenshot Shortcut on Android
. Screenshot Combination
. Using Android Screenshot Assistant
Take Screenshot on Android: With a Screenshot Shortcut
Some Android phones come with a screenshot shortcut in the quick settings menu. Hence, should your device come with an in-built one, you can take a screenshot from the quick settings menu with the following steps:
- . Go to the current screen that you want to capture.
- . Swipe from the top of the screen down to enter into the settings menu.
- On the drop-down menu. Please Locate the tap “Screenshot” or “Capture” button to take a screenshot of your screen.
- Hold on for the phone to show you the screenshot it took just now. Confirm it to complete.
Take Screenshots on Android: With Screenshot Combination
For those whose Android phone comes with an inbuilt Ice Cream Sandwich (4.0) or above. Which makes taking screenshots easy.
On Android 4.0, an above (Android 8.0 Orea is included):
Taking a screenshot on Android 4.0 and above, press and hold the Volume Down + Power buttons at the same time. Likewise, wait for a while until a short onscreen animation, release the two buttons and confirm it in the notification bar. Hence, the screenshot has been captured successfully.
In taking a screenshot on Android phone, get the timing right by pressing down the Volume + Power buttons. Should you press the Power button too early, it will lock the screen of your device. And if you press the volume Down button too early, it will turn down the volume of your device or change your device audio settings. Hence, press the two buttons at the same time to capture a screenshot on Android phone.
Screenshot On Android 2.3 or below:
There is no screenshot feature built-in on Android 2.3 and lower. But, some phones like many Samsung brands do have these features, but they vary.
For certain Samsung phones, you can take a screenshot by pressing the Home + Power buttons at the same time. Google to confirm if your phone has a built-in shortcut.
Consequently, you will need the Android Screenshot Assistant app to take a screenshot. I.e., for devices with no in-built shortcut. The good thing is that the Android Screenshot Assistant supports most Android phones no matter what version their operating system is.
Capturing a Screenshot Using The Android Screenshot Assistant
The Android Screenshot Assistant on (Windows/Mac) is a reliable software, which enables you to take screenshots on Android phone. No matter what version of Android OS version you are using, you can take a screenshot with this Android Screenshot Assistant.
Furthermore, the Android Screenshot Assistant does perform only the task of a Screenshot Assistant but also an Android Data Assistant. This aids users to manage data on their Android phone.
Related:
- Boost Your Android Device In the Following Steps
- Android Top Ten Apps Every User Should Have
- How To View Your Mobile Screen On A Computer
Take A Screenshot on Android with : Android Screenshot Assistant:
We will go by the windows version of the program. Also, those who use Mac can use the same process to run the program and take their screenshots.
- Download and install the Android Screenshot Assistant. After which you will connect your phone to a computer with a USB cable.
- Should it happen that it is the first time you are connecting your phone to this computer, you need to turn on the USB debugging on your device.
- To do this, follow the promptings to turn on USB debugging mode to have your device recognized by the program successfully.As soon as the program sees your phone, the interface of the program will appear. On the interface, right under your screen, you can’t miss the screenshot button.
- Go to the screen area you want to capture. Select the Screenshot button (camera icon) on the program, select the “Save” button from the pop-up window to save the screenshot.
Another point of interest is where to find the screenshots after taking the screenshot on android.
You tap the “Screenshot captured” notification as soon as the screenshot is captured.
Another way is to open the Gallery app on your phone and find your screenshots in the folder.
Finally, you can make use of these techniques right on your Android device without any difficulty. But, the Android Screenshot Assistant backs more Android phones and tablets. Also, it can multitask to handle Android data on your personal computer and Mac.


