

Running Android apps on Windows PC
Android apps can run on a Personal Computer, and it’s easier than you think. Apps on Windows PC have improved. But it could happen you see a great mobile App which cannot work on PC.
But, with the help of third-party software, it can run on a windows computer.
Getting apps from a phone to your PC is more complicated than installing a Windows program. Microsoft could be working to bring Android app mirroring in Windows 10.
There are methods to do it, from emulators to dual-booting. To make things easier, outlined below is a guide on what software and utilities are needed to install Android apps on a Windows computer.
Related articles
- https://techcorner.ng/how-to/boost-your-android-device-in-the-following-steps/
- https://techcorner.ng/apps/android-top-ten-apps-to-have/
- https://techcorner.ng/apps/update-your-software-regularly-why-it-is-important/
BLUESTACKS EMULATOR

The Bluestacks Application Player is an Android emulator that gives you access to run games and apps on Android 7.1.2 on your Windows computer. It has a standard interface that allows it to manage emulation settings and launch apps and “Layercake” technology, which uses hardware accelerators to improve the functioning of Android games in Windows PC.
With a Facebook, TwitterTwitter account and a PC, having at least 8GB of RAM, you can transmit apps directly from the Bluestacks window. Also, it is excellent to note that Bluestacks is free, with a subscription amount of ($2 per month). Also, it enables adequate support and unique offers from app developers.
Install Bluestacks to your computer hard- drive in the following steps
- Download the installer from the Bluestacks site.
- Launch the install application and indicate the storage location for app and data files. But it will install on your boot drive by default.
- As installation finishes, go ahead to launch it. Put in your Gmail log-in details and log into the Play Store, where you will see your installed and purchased apps.
DUAL BOOTING
Dual booting is an alternative to android emulators that gives you newer versions of Android. It will change your computer into an Android device. You will have an option to boot into Android when you switch on your computer, and Android will perform similarly to your smartphone.
It is challenging to install native Android because computer hardware like Intel processors, graphics cards, and physical hard drives have to be added to Android.
Phoenix OS
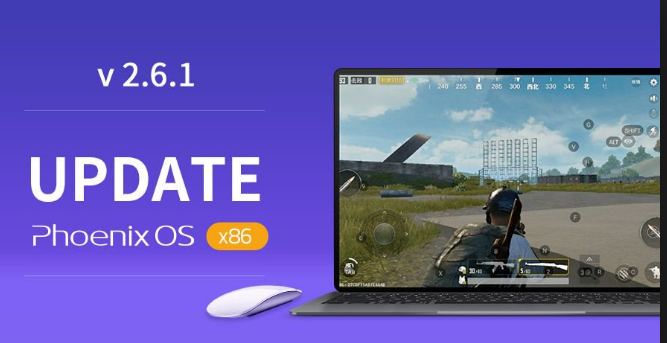
Phoenix OS is now Android 7.1 or 5.1 operating system that runs on your Windows PC. This gives it the feature of a desktop OS, with all of the compatibility of Android applications. These are the steps to set it up.
- To the Phoenix OS download page and download the installer on your computer.
- Select the installer for Android 7.1 or Android 5.1.
- Set up a new partition for Phoenix OS to install in to.
- Run the Phoenix OS installer, then install on the new partition. Likewise, create a bootable USB drive with it, and install on boot.
- Select a volume letter and the size of the volume you desire.
- Hold on a while for the installation to complete. Then reboot and select Phoenix OS from your boot menu. The new versions of Phoenix OS come preloaded with the Google Play Store, so download your apps from there, and that is it.
Android-X86

Running android apps in windows x86 oreo screen
Android-x86 is an open-source project that ports the newest version of Android to Windows hardware. Which is presently at Android 8.1 RC2 Oreo. The latest version of Android-x86 welcomes support for Google’s notification features.
More efficient management of background apps, smart text selection, and OpenGL ES 3.x hardware acceleration for Intel, AMD, and Nvidia graphics.
Also, Android-x86 allows you to customize Android to your taste. Install themes, home screens, etc., without worrying whether they will come out well, unlike Remix OS. Installing Android-x86 to your PC’s hard drive
- Step 1: Your computer hard drive has at least 2GB of free space. Download the latest Android-x86 ISO. Should your device not be listed, you can download the generic file.
- Step 2: Download UNetbootin.
Open UNetbootin and choose the Android-x86 ISO file, which you downloaded much earlier. Select the USB drive from the options, and select OK to click. Hold on a while for UNetbootin to copy, and install Android-x86 to your flash drive. - Step 3: Restart your computer and choose Boot to the Device Selection screen. Then, select your flash drive. From the UNetbootin menu, choose, Install Android-x86 to hard disk.
- Step 4: Select the partition or location to which you want to install Android-x86 into. The program will inquire if you want to format the disk. Don’t if you are not sure.
- Step 5: A question will pop up, asking if you want to install GRUB. Choose Yes, and Yes again. The system will ask if you’re going to “make system r/w. This allows Android-x86 to read and write data to your hard drive. Select a Yes.
- Step 6: Restart your computer for the second time. Once installed, use the Google Play store to install Android apps as you wish.

